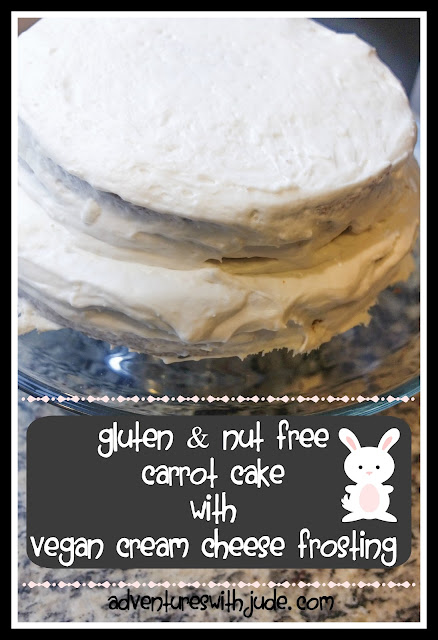
Meg: When we were trying to decide what our letter V theme would be, Luke decided that we should go in a different direction. V for vegetable make sense, but he saw this recipe a bit ago and thought "Wow, that's a carrot cake that actually looks appetizing. It looked like I had food in front of me, not words on a screen." I've seen some toothsome carrot cakes, but I see his point. Most are laden down with nuts and pineapple (neither of us can figure out that one) and look a wreck. This one looked tender and spicy, but like cake, not a science experiment. Plus, it looked simper to convert to gluten free since it was a basic batter cake. Since Mama thinks that you can't mess things up too much if you slather cream cheese frosting on top, I said, "That works for me! Want me to sous?" He said yes, and promptly delegated the carrot shredding! I should have known better...
Luke: I have only made a scratch cake once before. It was my great-grandmother’s pineapple upside down cake, and I was excited when it turned out. I was pretty hopeful I could make a carrot cake, but I was in need of a recipe. Unfortunately, the cookbooks we have lacked one that looked appetizing to me, so I looked online. Like my cookbooks, most had nuts and pineapple chunks in them. One, I’m allergic to nuts, and two -- who puts pineapple in carrot cake?! If I want pineapple cake, I’ll make Grammy Danks'recipe again!
I chose this recipe as my starting point because the directions were simple to follow along and looked easy to adapt for allergies. In fact, I hadn’t even started baking, and my mouth was watering from reading the recipe. With a few tweaks written to make it for our family, I headed into the kitchen.
The original recipe called for three 8-inch pans, which will make an impressively tall cake. Since we didn't have a third 8" round, I used one 8-inch pan and one 10-inch pan (the volume of batter needed for the 10 inch pan equals out to the same as two 8-inch ones) and stacked them as tiers.
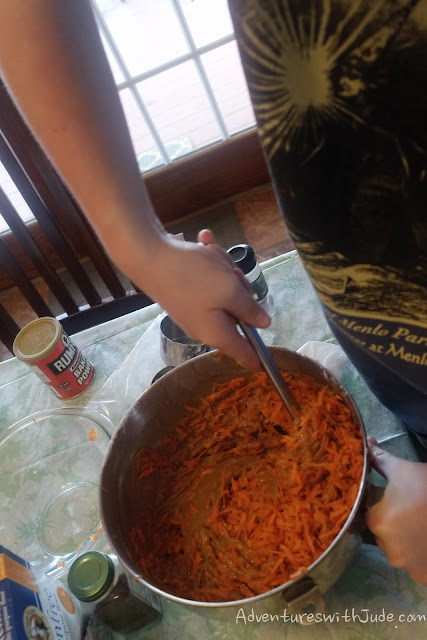
And how come I wound up grating the carrots after all?
Simple Carrot Cake with Vegan Cream Cheese Frosting
CARROT CAKE
1 1/2 cups canola oil
1 cup granulated sugar
1 cup brown sugar
6 eggs
1 Tbsp. vanilla extract
3 1/4 cups King Arthur gluten-free flour
1 tsp Xanthan gum
1 Tbsp. ground cinnamon
2 tsp. baking soda
2 tsp. salt
1 tsp. baking powder
1/2 tsp. ground nutmeg
1 pinch of ground cloves
1 lb. finely-grated fresh carrots
plus ¼ c. each vegetable shortening and gluten free flour to prepare pans
FROSTING
3 (8 oz.) containers Daiya cream cheese spread
1 cup vegetable shortening
1 Tbsp. vanilla extract
1/2 tsp. salt
6 cups powdered sugar
CAKE:
Preheat oven to 350°F.
Rinse and grate the carrots. Set them in a bowl to the side.
Prepare pans. (The originally recipe calls for 3 8-inch pans or 2 9-inch pans. We used 1 8-in and 1 10-in.) Be sure that the entire pan is well greased and coated in flour so that the cake does not stick!
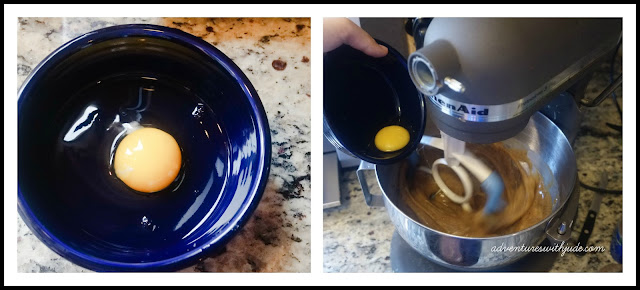
In the bowl of a large stand mixer, mix together oil, granulated sugar, and brown sugar until combined and smooth. Add in the eggs one at a time, then the vanilla, and mix until smooth.
Hint: If you crack the eggs into a separate bowl, it helps make sure there are no shells that will end up in your cake. Crack one egg into a bowl, check it, and then add to the mixing bowl. As it mixes in, repeat with the next egg.
In a separate bowl, whisk together the remaining dry ingredients (flour, xanthan gum, cinnamon, baking soda, salt, baking powder, nutmeg and cloves) until combined.
Add the dry ingredient mixture to the mixing bowl, and beat on medium-speed until just combined, scraping down the pan at least once to be sure that everything is well mixed. Then fold in the grated carrots by hand, and stir until combined.
Pour the batter evenly into the prepared cake pans. Bake for 35-40 minutes or until a toothpick inserted in the middle of the cakes comes out clean.
Yes, I know the pies already cooling on the stove top look good. But they're another blog post for
later.
Let the cakes cool in the pans for about fifteen minutes. Gluten free baked goods need time to set after they come out of the oven, and turning them out of the pan too soon increases the risk of them cracking.
Remove pans and let them cool on a wire rack until the cakes reach room temperature.
Using a serrated knife, “torte” the cakes into layers. Fill the layers of cake with cream cheese frosting, reassemble the cake, and then frost the outside.
Serve that day, or cover and store in refrigerator for up to 4 days.
CREAM CHEESE FROSTING:
Using an electric mixer, cream together cream cheese and butter on medium speed for 1 minute or until smooth with no lumps remaining.
Add in vanilla extract and salt, and continue mixing until combined.
Lower speed to medium-low and gradually add in powdered sugar a cup at a time. (RESIST THE URGE to beat it on high and go faster. If you try, you and your kitchen will be covered in sugar.)
Once the sugar is mixed in, Increase speed to medium-high and beat until fluffy.
If frosting is too thick to spread, you can add in water, a teaspoon at a time. If it is too thin, you can add in more powdered sugar.If you kitchen is warm, cover the bowl and stick the frosting & beaters in the fridge to firm up a little, and re-whip until smooth when you’re ready to frost the cake.
©2012- 2016 Adventures with Jude. All rights reserved. All text, photographs, artwork, and other content may not be reproduced or transmitted in any form without the written consent of the author. http://adventureswithjude.com


No comments:
Post a Comment