After you've finished planning your meals, there's still a lot of work before you can start cooking. You need to stock your kitchen with both cookware and food!
1. Kitchen Utensils
No matter what you cook, you need to have a pan to cook it in. Some pans are essential - like a frying pan. Other kitchen appliances are nice to have, but not essential (you can toast bread in an oven, but you can’t exactly roast a chicken in a toaster). My list for a bare-bones kitchen:
Cutting tools:
-knives: a chef’s knife, paring knife, and serrated knife
-2 or more cutting boards (especially if you cook with meat)
-can opener: both a “regular” style and a “churchkey” style potato peeler
Mixing tools:
-measuring cups for both liquid and dry ingredients and measuring spoons
-2 “pancake turner” style spatulas
-2 mixing spatulas
-balloon whisk
-meat mallet
Pots and Pans:
-2 saucepans: one 3qt saucepan and one 1-2qt smaller one
-2-3 skillets: one 5-7 in. skillet, one 10 in. skillet, and one 11 in. skillet
-large oven safe dutch oven
-stockpot
-colander
-8 in. square baking pan
-9 in. x 13 in. baking pan
-2 - 12 cup muffin tins
-2 - 8 or 9 in. round baking pans
Small Electrics:
-Mixer (handheld or stand mixer)
-Blender
-Coffee pot
Instant-read thermometer
Having the proper tools is very important, because without them you either can't prepare your meal or have to improvise and that can be risky. Keep your knives sharp - a dull knife is more likely to cut you because you need more force to get it through the food. The proper size pans ensure that your pot will neither overflow nor boil dry; a thermometer makes sure that your food cooks to the proper temperature so nobody gets food poisoning.
Pretty much everything on that list can be used for multiple tasks. The meat mallet can pound both cutlets and candy canes, a baking pan doubles as a roasting dish, and a blender can puree smoothies or grind oats into flour. Of course, there are lots of other great items you might want to make life easier: microwaves, toasters, even specialized cake pans. We have a rice cooker and a slow cooker. Both are great because when you’re planning meals ahead, you can set it so your dinner is ready when you come home, but in theory, you COULD make a slow cooked dish and a pan of rice in the oven.
Adjust the quantities on this list for your family’s needs. For example, we easily have five or six spatulas, because of food allergies. Cross contamination with an allergy-triggering food can trigger anaphylactic shock, so extra is good in case the cook forgets which was used - just get a new one. We have extra pans, spatulas, etc. so that pans do not have to share, and extra measuring cups so nobody is dipping a measuring cup used for flour into the sugar bowl and contaminating that. We even have two toasters - one for regular bread, and one for gluten free toasting.
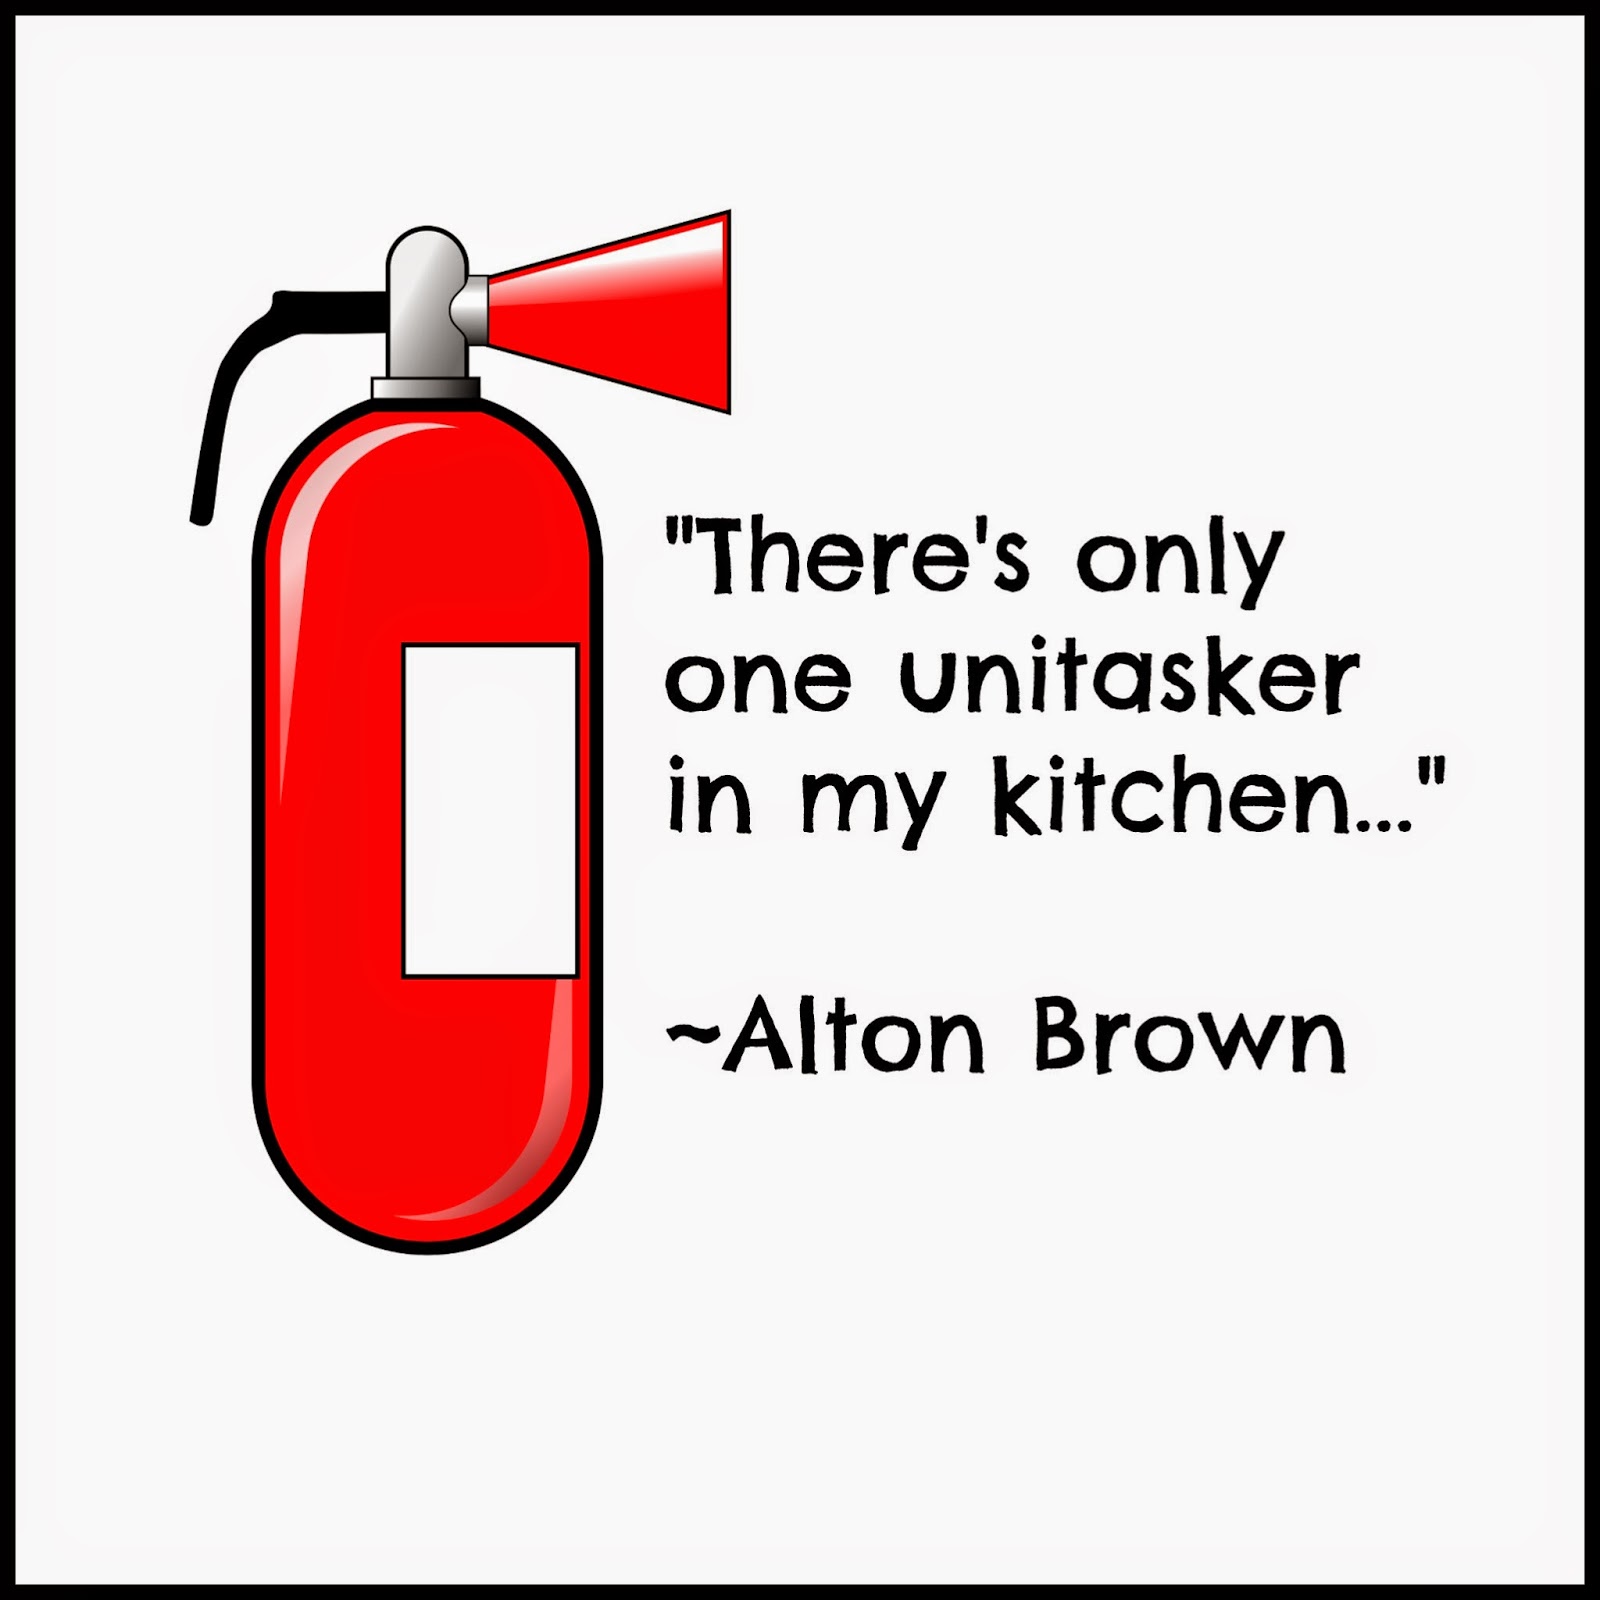
No matter what else you use, do yourself a favor and skip over one-hit-wonder things like a “banana slicer” or a margarita machine. As Alton Brown would say:
(But make sure you have one of those, OK? Get one that’s rated for grease fires, and keep some baking soda on hand as a back up. And fresh batteries in your smoke detector.)
2. Grocery Shopping
If you’re going to cook, that means you’re going to have to go get groceries. Some helpful hints to make shopping easier:
-make a list
Whether you have a “only buy what’s on the list” mentality, or your list is more of a “We need other stuff, but do NOT come home without these!” reminder, it’s important to make one. Having a list makes sure you don’t forget ingredients for your meals.
-shop the interior first, and then the outside
Everybody says, “Only shop the perimeter of the store, that’s where the healthier food is.” Well, it may be where the market keeps produce and eggs, and sometimes frozen foods, but I guarantee you will wind up trying to keep your orange juice from squashing your bananas. In addition, the stuff in the aisles tends to be squared-off box shapes, and they fill the bottom layer of your cart easily, leaving the top for more fragile items like eggs and breads. Leaving the refrigerated and frozen items for last also reduces the time it spends at room temperature.
-allergies: every label, every time
If you’re shopping and have food allergies, always check the label before you purchase the item, even if you’ve bought it literally a thousand times before. Ingredients change, manufacturing practices change. If you see “New and improved!” written on the package -- read it twice!
The Food Allergen Labeling Consumer Protection Act (FALCPA) requires foods regulated by the FDA to be labeled in plain English - ie, if there is milk in it, it must say “milk” somewhere in or near the ingredient list. This generally includes the stuff you find in the middle of the store - canned goods, packaged baked items, etc.
However, items that are made in the store (baked items, deli take-out) or items regulated by the USDA (meats, usually - and they will have a USDA shield on them), are not subject to FALCPA. Also, although they are regulated by the FDA, health/beauty and medications aren’t either. For those, make sure you know “hidden” names of foods - for example, dairy might be listed as “casein” or “whey,” two common proteins found in milk. Soy could be hiding as “textured vegetable protein,” and almond (a tree nut) with the INCI nomenclature/Latin term “Prunus amygdalus dulcis oil.”
-keep meat separate
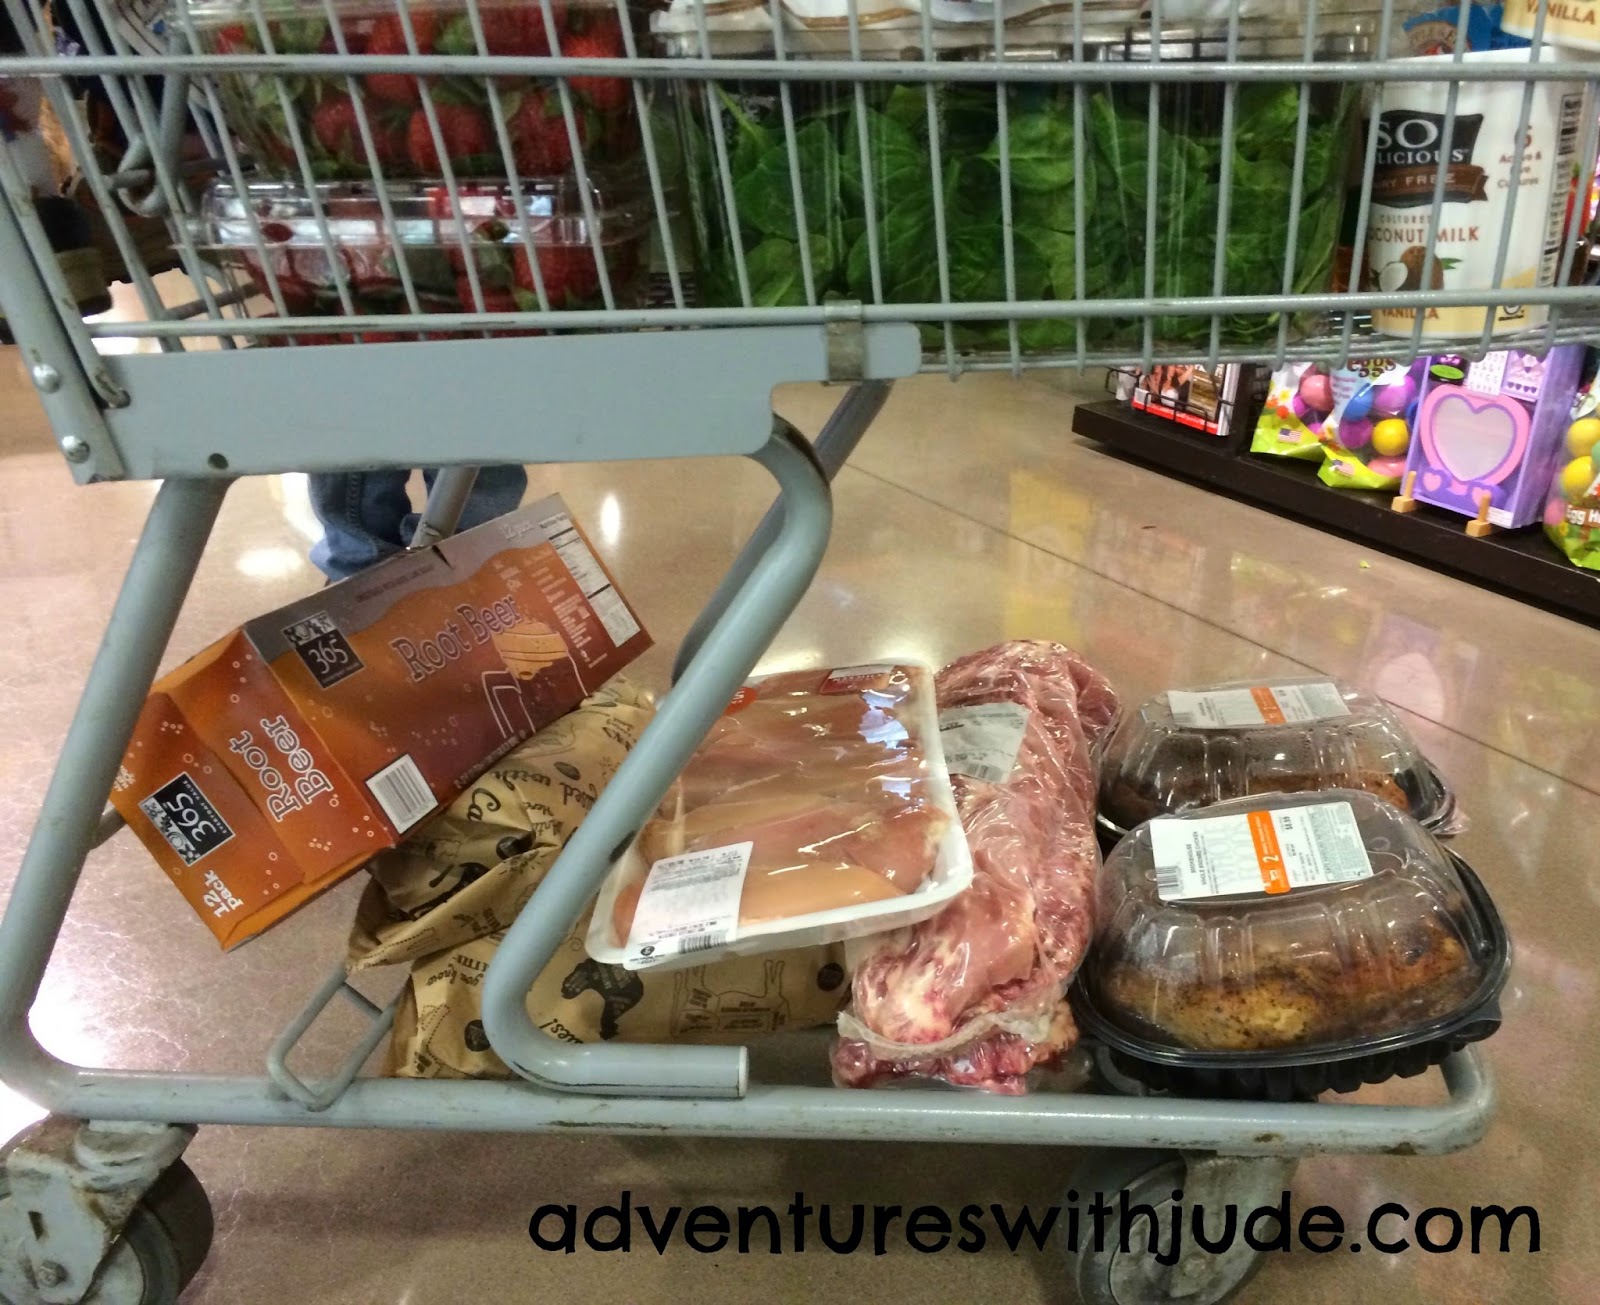
Keeping meat separate when purchasing will make sure it will not be cross contaminated with other foods or meats. Nobody wants salmonella. When shopping, separate it from the rest of the groceries by putting it on the bottom rack of the cart, and bag it separately from other foods.
-bring your own shopping bags
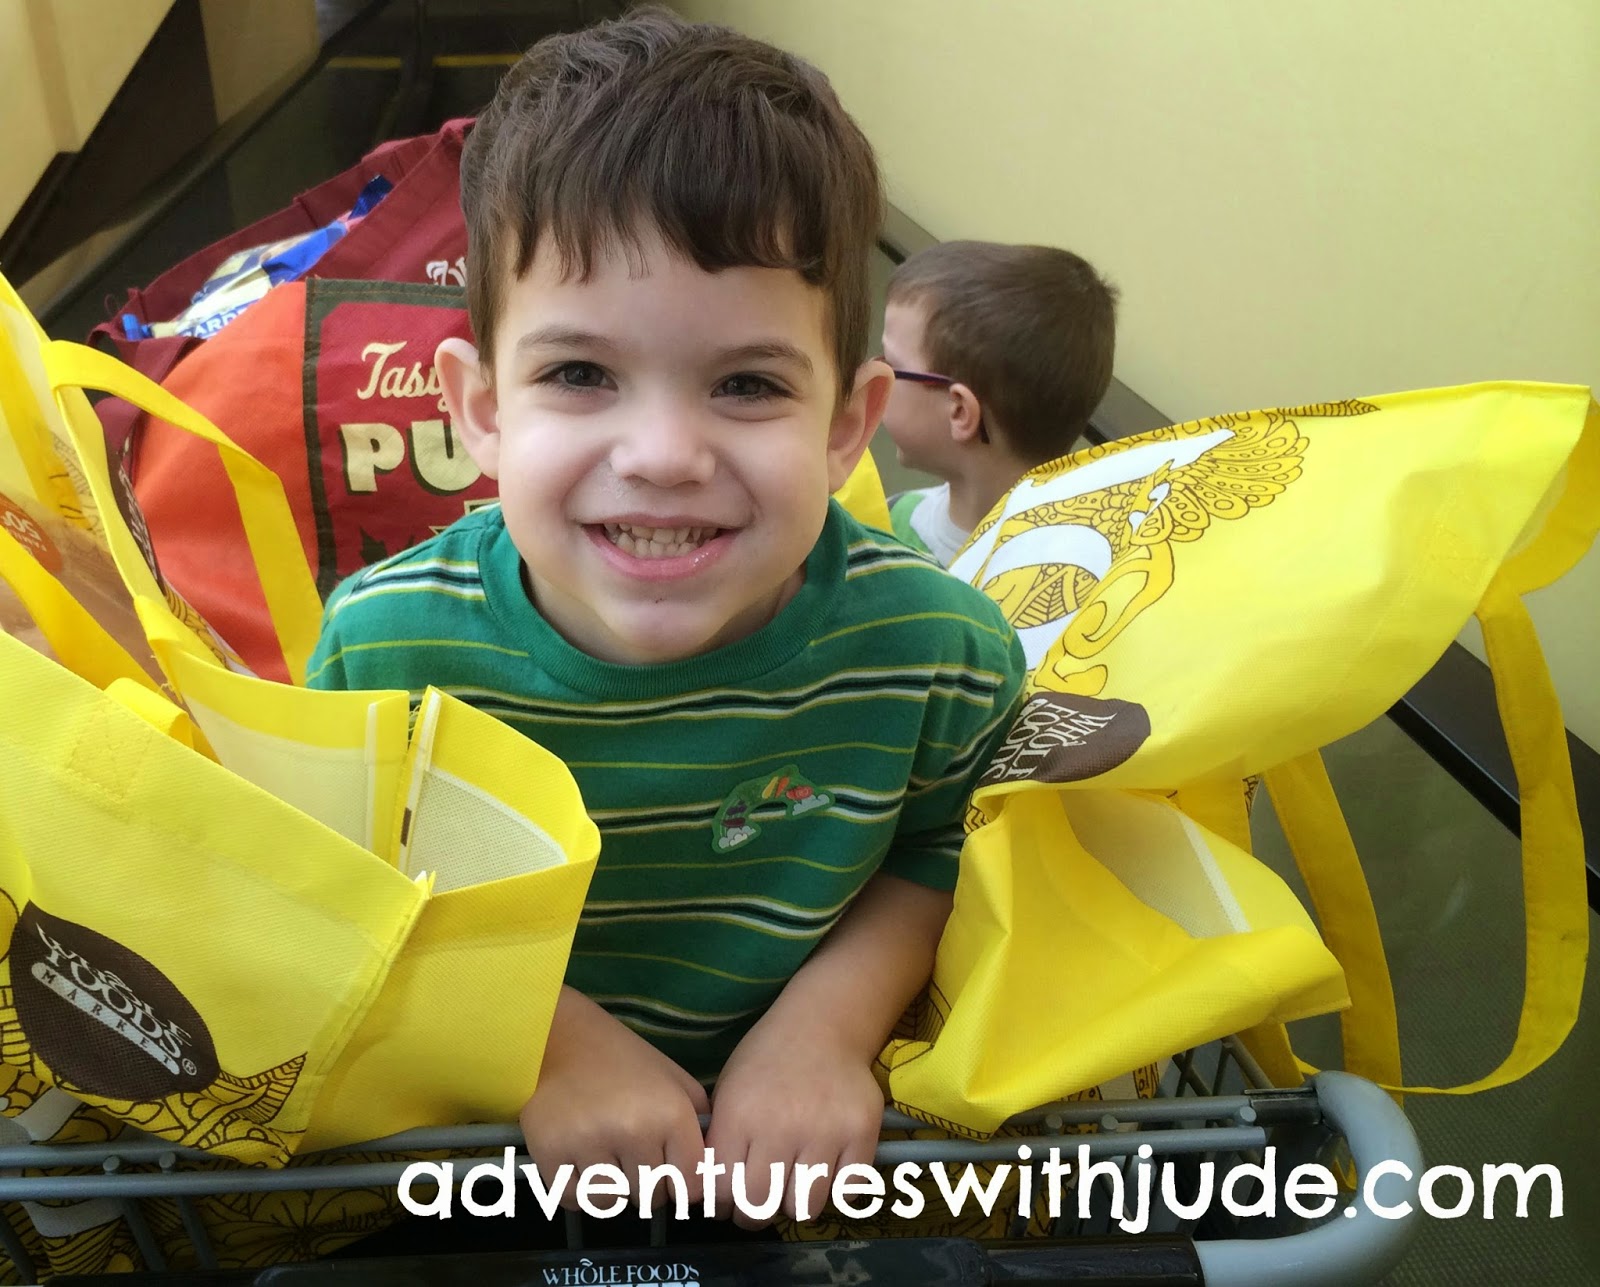
Most supermarkets today offer you the chance to purchase reusable grocery bags, with which you can potentially save anywhere from five to 25 cents off your purchase per each bag. If you keep them in your car, you will always have them on stock for both necessary and short “I’m already in the area, so I will get a few things for the week” trips. If you keep them on hand, they will pay for themselves.
3. Storing your groceries
After you take your ingredients home, you need to preserve your foods according to food type and day you are going to be making it. Some tips for this include:
-Organize pantry
 Set a shelf or even a drawer or cabinet for each category of food- ie baking supplies can go on one shelf, cereals on another, and so on. Also put them in order from front of the shelf to the back by expiration date, so you do not end up having food going bad. Rotate items as you purchase new ones, so older items are used up first. Organization will also keep you from purchasing items you already have but “can’t find.”
Watch your fruits, too. Try to separate apples from other fruits - they give off ethylene gas that will cause other fruits to ripen faster
-Organize fridge
Place items in your fridge similar to the pantry, with both putting food that goes together in the same area. Eggs should NOT be kept on the door, because they can spoil in the fluctuating temperatures.
Meats again should need to be separated from the rest of the items. Place them on the bottom shelves of the fridge, so that any liquid that may drip out does not drip down and contaminate foods. Wrap and freeze what you won’t use in a few days, so it does not spoil before you cook it.
-Leftovers
Label leftovers with the date they are made. This way, you’ll be sure to use them before they go bad, and not be surprised by a “mystery science project” lurking in the back corner.
4. Separation of allergens
Sometimes separation of food becomes extra critical -- if you have food allergies and look-alike products, you need to make sure they are identified as safe or unsafe.
-Labeling foods
A common thing done in my house is labeling foods by allergies. Labeling can be done just simply by using tinfoil for one, and parchment paper for another, or taking tape and a Sharpie and writing the type of food it is, like “beef burgers” vs “pork burgers” rather than just “burgers, date.”
-Visual clues
Separation can be done also by visual clues. A great example in my house is we have two toasters. One is silver for normal bread, and the other is red, as a visual clue to “STOP, that is used for gluten-free bread.”
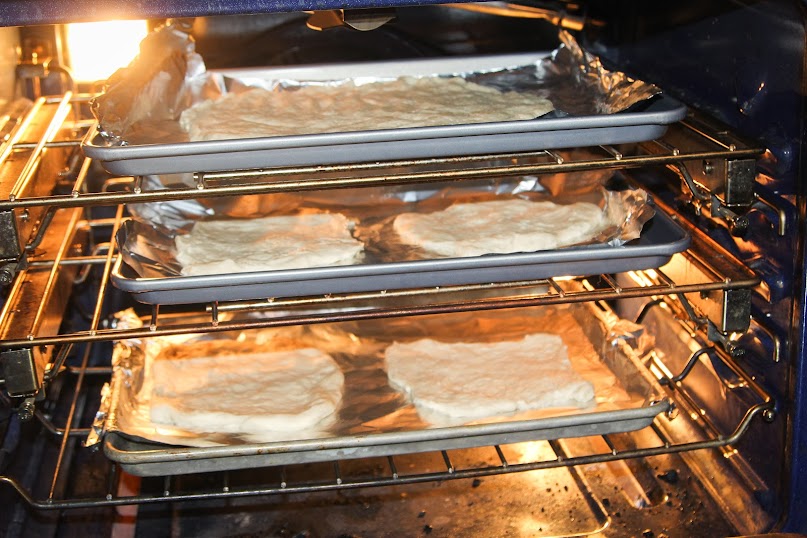
You also might make two visually different items. For example, if we make a shaped pasta, a wheat version is usually wagon wheels, while the gluten-free pasta shape is rotini. If we’re making quesadillas or grilled cheese, the dairy-free cheese is orange and cow’s milk cheese is white - you can tell at a glance who has the right sandwich. When we're making homemade pizza, we have a specific order -- dairy free/gluten free on the top rack, gluten free/cow's milk cheese in the middle, regular pizza on the bottom rack. That way, if anything should fall off, it won't ruin the pizza below. Always having the same order of things also means once a routine is established, the motor/muscle memory acts as another safeguard, because you're not having to recall "Which way did I put them this time?"
5. Food prep for cooking
-Wash hands before preparing food and after handling raw meat, raw eggs, poultry, etc.
-Also wash utensils and cutting boards after use, as you might need them later in the recipe. Use a new or cleaned cutting board when cutting vegetables after raw meat - don’t just flip the board.
-When cooking, wear appropriate clothes - remove loose clothing, pull up sleeves, and tie long hair back.
-When using the stove top, place pot handles away from you, don’t leave your stove unattended, and center pots on appropriate size burners.
Collette reminds in Ratatouille one of the most important things to remember when cooking to not put your diner’s health in jeopardy, from cooking at a five star establishment to just for your family at home. Take her advice:
 Other posts in this series:
Real Men Make Quiche
Planning Meals
Food and Kitchen Safety
Mis en Place and other final prep
This post is part of the Schoolhouse Crew Review 5-Day Blog Hop. There are over 60 families blogging about just about everything homeschool related you can think of. Here are some friends you might like to check out (and what they're writing about):
Nicole @ Journey to Excellence ~ Missouri
Dusty @ To the Moon and Back ~ Babywearing
Kristi @ The Potter's Hand Academy ~ Spring Studies
Jennifer @ Royal Little Lambs ~ Essential Oils
Annette @ A Net in Time ~ Science
Jen @ Happy Little Homemaker ~ Frugal Fitness
Meg @ Adventures with Jude ~ Homeschooling from the Kitchen
Lori @ At Home: where life happens ~ Favorite Books
Tauna @ Proverbial Homemaker ~ A Christ-Centered Home
If you have a few extra minutes and would like to check out all of the blogs in the hop, click on the banner at the left!
©2012- 2014 Adventures with Jude. All rights reserved. All text, photographs, artwork, and other content may not be reproduced or transmitted in any form without the written consent of the author. http://adventureswithjude.com


Thanks for the helpful post! Definitely need to get an instant-read thermometer.
ReplyDeleteI have become big on keeping my meat separate. Most places (that I've seen, anyway) now have plastic bags for meat, the same way they do for produce. We use those a LOT.
ReplyDelete